USB Drive Not Showing Up In Windows (fix)
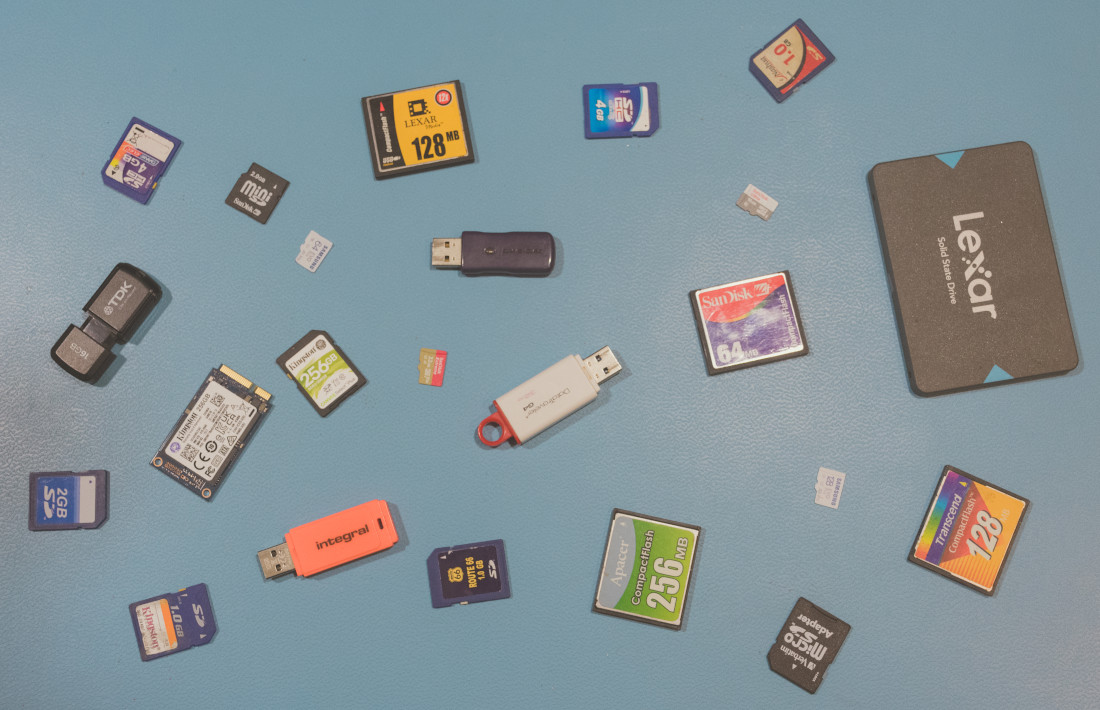
It might happen that you connect a USB Pen Drive, External Hard-disk or even an SD card and that you do hear the ‘USB connect sound’, but that the drive doesn’t show up in explorer as expected.
This could just be a ‘fix’ as simple as assigning a drive letter to the partition/drive.
If you do not get a USB connected sound, or you even get a message about the hardware not being recognized, then this article can’t help you though.
Of course it could also be other problems like the drive being damaged, drivers not working etc, but I won’t be covering that in this article. This article will just cover the issue of a drive not showing up because there hasn’t been a drive letter assigned to it. Simply because this is a problem which happens quite frequently lately, and I have gotten quite a few questions about it.
First thing you (obviously 😉) want to do is connect your drive, hard-disk or SD-Card to your computer.
Next you want to open Computer Management and then click on Disk Management in the pane/panel on the left (under Storage).
TIP: If you don’t know where to find Computer Management you can just open the start menu and type compmgmt and it will show up in your start menu. This will work for (nearly if not) all languages (it also works on my Dutch installation of Windows).
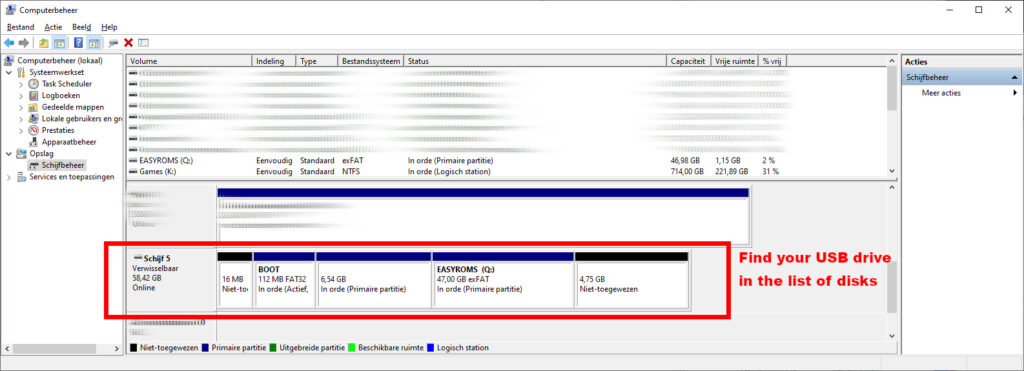
Next you want to locate the ‘drive in question‘ in the bottom half of the screen as illustrated in my screenshot above. In my screenshot I’m showing an SD card (of 64GB which is shown as 58.42GB) which has multiple partitions on it. From this SD-Card the partition named BOOT is not showing up in Windows with a drive letter. If you are connecting a regular USB Pen-drive or external hard-disk, then it’s likely just going to be one “white box” as the one above the one I’ve marked.
NOTE: I will explain what partitions are at the end of this article/tutorial.
Next you’ll right-click on the drive (or partition, like I’m doing on the partition named BOOT in my screenshot bellow) and then you’ll need to click on Change Drive Letter and Paths…

Next you’ll get a window in which you can add (assign) a drive letter to your USB drive/partition. In this window you will need to click on Add, and then in the following window that pops-up you can select (if desired) a drive letter of your choice, or just click on Ok to assign the next available drive letter to your USB Drive/partition. It should now show a drive letter next to your drive/partition in the overview.
To make it a bit easier I have also included an animated GIF bellow, showing “all” these steps (1.8 second interval per step) :
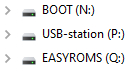
And if everything went to plan, you should now be able to see your drive in Windows Explorer:
I got a message/question if I want to format to the drive to start using it, what now?
Well that depends! If it is a new USB drive, SD Card or hard-disk, then you can just safely proceed to format it to start using it. If it is however a drive/card which should already have data on it, then you should NOT format it! You will then definitely loose all data on it! Same goes if it is a card, USB stick or drive which you have taken out of a functioning device. If you for example removed a drive from a hard-disk recorder, thermostat or whatever, then it’s very likely that it uses an by windows unsupported filesystem. This means you would then erase everything on this disk if you format it, while it would actually work perfectly fine in the device you removed it from.
I can’t help you with issues like not being able to read the drive or questions about needing to format it in this article. Simply because like explained above, such a “problem” heavily depends on what type of drive it is, what it is from/for etc. I would instead recommend to Google for some information about your specific drive (and it’s original intended use/device it’s used for) to see what the problem is, and IF it actually is a problem or that you would for example need additional software to read/use the drive.
But Change Drive Letter and Paths… is grayed out (can’t click on it)!
That could be possible, if you look at the SD card I have used for this article, you can see that I have a blue section which says 6.54GB In orde (Primaire partitie) (Healthy (Primary Partition) in English). and a black section which says 4.75GB Niet-toegewezen (4.75GB Unallocated in English).

The blue section (the 6.54GB one) in my example is actually a working Linux partition which isn’t usable (by default) in Windows, and thus you can’t assign a drive letter to it. The black section (4.75GB) is unallocated space, which basically means we haven’t configured that part of the drive (yet) as being a certain filesystem. If your entire drive consists out of a single black section like the one above, and it’s a new drive, then you can just safely right-click on it and then click on New Simple Volume and then follow the Wizard to prepare the drive for use.
If it is a drive which should already contain data, then please refer to the previous section (I got a message/question if I want to format to the drive to start using it, what now?)
What are these partitions you kept blabbing about?
Well it’s very simple actually. When assigning/setting up multiple partitions on one drive you are basically dividing the drive into multiple different drive letters. In the example above you can see that the drive has been divided in multiple sections:
Boot (N:) of 112MB, a 6.54GB Linux section which has no drive letter in Windows, EASYROMS (Q:) of 47GB and a remaining 4.75GB of unallocated space.
Doing this could make it easier to organize your files over multiple drives. But sometimes (like in my example) you actually need it to for example configure a boot sections, operating system section (the Linux part in my example) and the user files section (the EASYROMS partition in my example).
Do note though, that while this could make it easier to manage your files, it does not per se mean that your files are ‘safer’ if something happens to the drive. If the hardware of the drive fails in some way or another, it will often affect the entire drive (and all it’s partitions). Your files could however be “more protected” against user errors like accidentally erasing folders or formatting a partition.
I hope this article was useful to you, if so please consider checking out my Main YouTube channel and my Secondary YouTube channel and possibly subscribe to them for tech videos, DIY projects, 3D printing, programming, ‘hacks’ and more.